https://saju.choeum.com/pos/front/sjuF0101.do?ref=s_BwgZAV1CS2tVJUAFBwEHCjMAAAAAbUJXUg
처음 사주 - 인생 7포인트
2026년 성공하는 시기·성향·연애운·금전운·10년 운까지 한눈에
saju.choeum.com
Centos S9 - 이메일 서버 설치 roundcube + postfix + dovecot 시리즈의 연장 내용입니다. 오늘 설치해 볼 것은 앞서 위 글의 설치를 한 후에 이어서 설치하는 내용이니 혹시 이 글만 보고 왜 안되지 하는 분들은 제가 했던 위 글의 설치를 따라하고 오셔서 해 주기 바랍니다. 앞의 글은 잘 작동하긴 하는데 imap, smtp 를 접속하려면 비보안으로만 접속이 가능했는데, 이제 SSL 보안 접속이 가능하게 해 봅시다.
사전 작업 1 (선택) : https://ryans-note.tistory.com/31
사전 작업 2 (필수) : https://ryans-note.tistory.com/32
사전 작업 3 (선택) : https://ryans-note.tistory.com/33
사전 작업 4 (필수) : https://ryans-note.tistory.com/39
smtp 는 송신, imap/pop3 는 수신 입니다.
위 4번은 무료 SSL 인증서를 받는 것이니 꼭 먼저 진행하고 아래 내용을 해야 합니다.
아래 파일 경로가 다른 경우 find 명렁어로 찾아서 vi 수정해 주세요.
postfix(smtp) ssl 적용
-o 부분에 주석을 해제하고 = 값의 내용을 동일하게 변경해 줍니다. 주의 사항으로 -o 앞에 공백이 두 칸 있습니다. 이 공백을 지키지 않으면 에러가 나는데 왜 에러 나는지 한참동안 헤맸습니다.
vi /etc/postfix/master.cf
submission inet n - n - - smtpd
-o syslog_name=postfix/submission
-o smtpd_tls_security_level=may
-o smtpd_sasl_auth_enable=yes
smtps inet n - n - - smtpd
-o syslog_name=postfix/smtps
-o smtpd_tls_wrappermode=yes
-o smtpd_sasl_auth_enable=yes
-o smtpd_relay_restrictions=permit_sasl_authenticated,reject
-o milter_macro_daemon_name=ORIGINATING
ls -al /etc/letsencrypt/live 조회후 도메인 아래에 파일을 아래와 같이 대입해 줍니다.
vi /etc/postfix/main.cf
smtpd_tls_cert_file = /etc/letsencrypt/live/mail.mydomain.com/fullchain.pem
smtpd_tls_key_file = /etc/letsencrypt/live/mail.mydomain.com/privkey.pem
smtpd_tls_CAfile = /etc/letsencrypt/live/mail.mydomain.com/chain.pem
smtpd_tls_security_level = may
dovecot(imap,pop3) ssl 설정
ls -al /etc/letsencrypt/live 조회후 도메인 아래에 파일을 아래와 같이 대입해 줍니다.
또, 아래에 있는 내용은 # 주석을 풀어줍니다.
#ssl_min_protocol = TLSv1.3 이 부분은 주석이 되어 있어야 합니다. (풀리면 로그인 불가 오류 발생)
vi /etc/dovecot/conf.d/10-ssl.conf
ssl = yes
ssl_cert = </etc/letsencrypt/live/mail.mydomain.com/fullchain.pem
ssl_key = </etc/letsencrypt/live/mail.mydomain.com/privkey.pem
ssl_ca = </etc/letsencrypt/live/mail.mydomain.com/chain.pem
#ssl_min_protocol = TLSv1.3
vi /etc/dovecot/conf.d/10-auth.conf
disable_plaintext_auth=yes
아래 내용을 찾아 # 주석을 제거해 줍니다.
vi /etc/dovecot/conf.d/10-master.conf
inet_listener imaps {
port = 993
ssl = yes
}
inet_listener pop3s {
port = 995
ssl = yes
}
서비스 재시작
systemctl restart postfix
systemctl restart dovecot
roundcube ssl 설정
앞에서 제가 설치한 roundcube 버전에서는 별도로 더 수정해야 하는 부분은 없었고 아래 내용만 고치면 됩니다.
/etc/roundcubemail/config.inc.php
$config['imap_host'] = 'localhost:993';
테스트
25|110|143|465|587|993|995 7개 포트가 모두 0.0.0.0:* LISTEN 이면 성공이다.
netstat -nlp | egrep "25|110|143|465|587|993|995"
tcp 0 0 127.0.0.1:44321 0.0.0.0:* LISTEN 2545/pmcd
tcp 0 0 0.0.0.0:143 0.0.0.0:* LISTEN 112922/dovecot
tcp 0 0 0.0.0.0:25 0.0.0.0:* LISTEN 95626/master
tcp 0 0 0.0.0.0:110 0.0.0.0:* LISTEN 112922/dovecot
tcp 0 0 0.0.0.0:465 0.0.0.0:* LISTEN 95626/master
tcp 0 0 0.0.0.0:587 0.0.0.0:* LISTEN 95626/master
tcp 0 0 0.0.0.0:995 0.0.0.0:* LISTEN 112922/dovecot
tcp 0 0 0.0.0.0:993 0.0.0.0:* LISTEN 112922/dovecot
tcp6 0 0 :::143 :::* LISTEN 112922/dovecot
tcp6 0 0 :::110 :::* LISTEN 112922/dovecot
tcp6 0 0 ::1:44321 :::* LISTEN 2545/pmcd
tcp6 0 0 :::995 :::* LISTEN 112922/dovecot
tcp6 0 0 :::993 :::* LISTEN 112922/dovecot
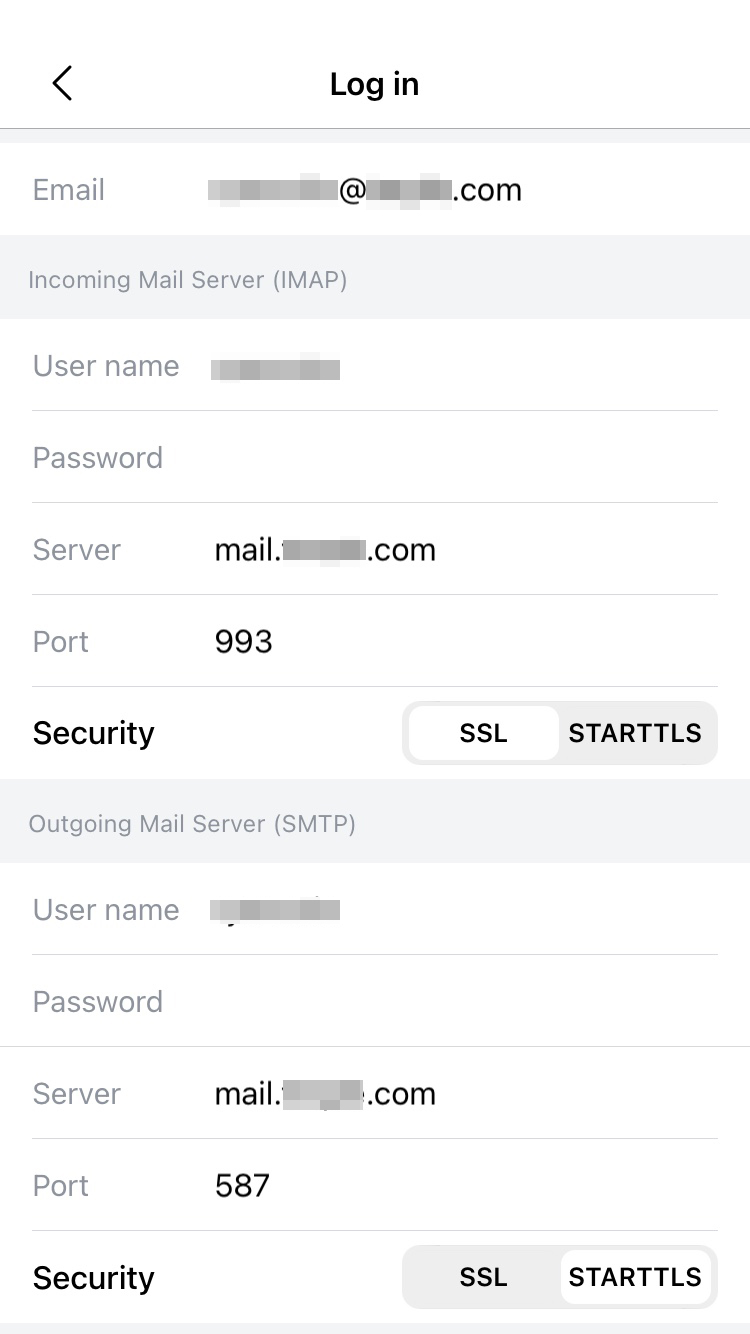
이메일 클라이언트 접속
[IMAP]
email → user.name@mydomain.com
user name → user.name
server → mail.mydomain.com
port → 993 (IMAP + SSL)
security → SSL
[SMTP]
user name → user.name
server → mail.mydomain.com
port → 587 (SMTP + STARTTLS)
security → STARTTLS
로그인 성공
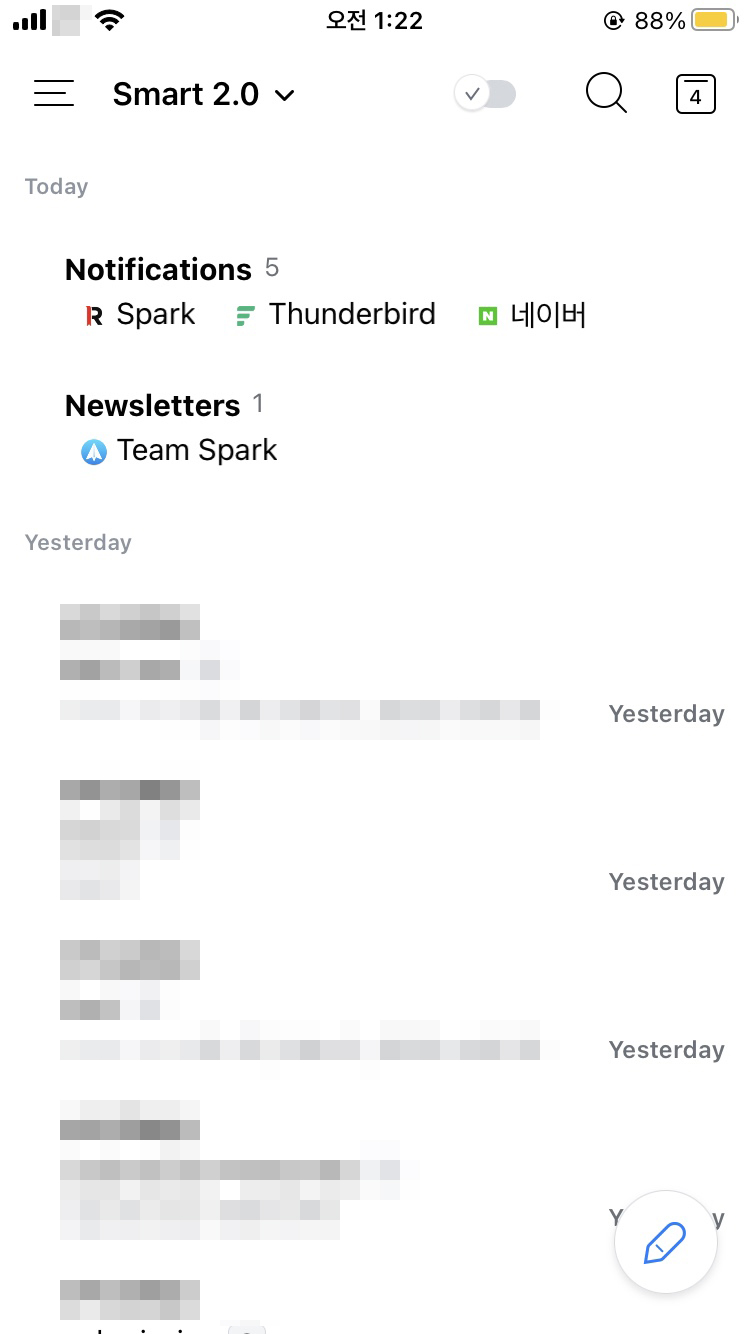
접속이 성공했습니다.
메일 클라이언트 앱은 기본앱이 상세 옵션을 설정하는 부분이 없어서 접속이 잘 안되던데, SPARK (아이폰, 안드로이드), K-9 (안드로이드) 로 접속 테스트가 되었고 잘 동작합니다.
이상입니다.
도움이 되었다면 공감과 댓글 한번 부탁드리고
많이 도움이 되었다면 비밀댓글로 커피한잔 사주시면 감사히 먹겠습니다.
참조2 : https://foxydog.tistory.com/41
https://saju.choeum.com/pos/front/sjuF0101.do?ref=s_BwgZAV1CS2tVJUAFBwEHCjMAAAAAbUJXUg
처음 사주 - 인생 7포인트
2026년 성공하는 시기·성향·연애운·금전운·10년 운까지 한눈에
saju.choeum.com
'Linux > CentOS Stream 9' 카테고리의 다른 글
| [오류 수정] 'pgdg-common': repomd.xml GPG signature verification error: Bad GPG signature (0) | 2024.01.24 |
|---|---|
| CentOS stream 9 - 인터넷공유가 안되고 오류 (Packet filtered) (1) | 2023.03.10 |
| Centos Stream 9 - 메일 서버에 OpenDKIM Install 설치 (0) | 2023.02.28 |
| 메일 서버에서 gmail 로 메일 발송 문제 해결 SPF, DMARC, DKIM (0) | 2023.02.28 |
| Roundcube 웹메일의 다양한 플러그인들 소개 (0) | 2023.02.27 |